
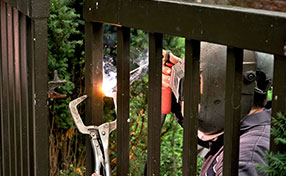

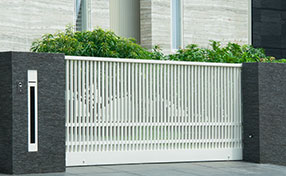
Gate Posts – How Do You Install Them?
11/10/2013 Back To BlogA gate or fence will never be able to stand upright and withstand the weather, if it does not have a post. In new gate installation parlance, a gate post is one wherein a gate is attached by latches and hinges. And like standard fence posts, the post is usually sunk or builds into the ground. But because gates weigh much heavier and they do swinging actions when opening and closing, they need to be properly installed. Here are a number of helpful ideas on how to install gate posts.
1. Do Your Measurements
• The first gate opener installation step would be to do your measurements. Ensure that the posts are 3.5 feet longer than their current height and place the gate on the ground for the moment, with the posts positioned on all of its side to ensure the proper placement.
• The next step would be to hammer three slabs or pieces of wood across the area, into the posts. This helps keep them on the same distance apart, once you pick them up.
• Dig a ditch or trench across the area where the gate will be placed or installed. Remember that the trench must be six inches wider than the posts, or a foot across and three feet deep where it ends.
2. Set the Gate Posts Properly
• The next gate repair or installation step would be to place 2 to 3 inches of gravel on the bottom of the ditch or trench, for proper drainage and start setting the posts into this area.
• Make sure you thoroughly check if the posts are vertical and then brace or support them with 2x4 boards and then nail one end of each of these 2x4 boards to the post to ensure their position is firmly held.
3. Pour Concrete into the Trench
• The next residential gate installation step would be to mix one part cement, 2.5 parts sand and 4 parts gravel and then mix with enough amount of water, to make the cement mixture thick.
• Pour the fresh concrete on the trench, and fill up to ground level.
• Place and adjusts the posts, and add more fresh concrete, and make it mound-shaped, to prevent rain water from pooling around the posts.
When bracing the gate's posts with 2x4 boards, make sure you nail them to the adjacent sides, to keep them vertical and steady. And, when mixing concrete for the post's foundations, you should use a wheelbarrow and shovel for proper mixing.

